Wednesday, July 24, 2019

Dome Card and Envelope Box Tutorial

Hi everyone,
Today I'm posting a tutorial for a Dome Card and the envelope to go with it since the card won't fit in a regular envelope.
Supplies Needed for the Card
1. White Cardstock
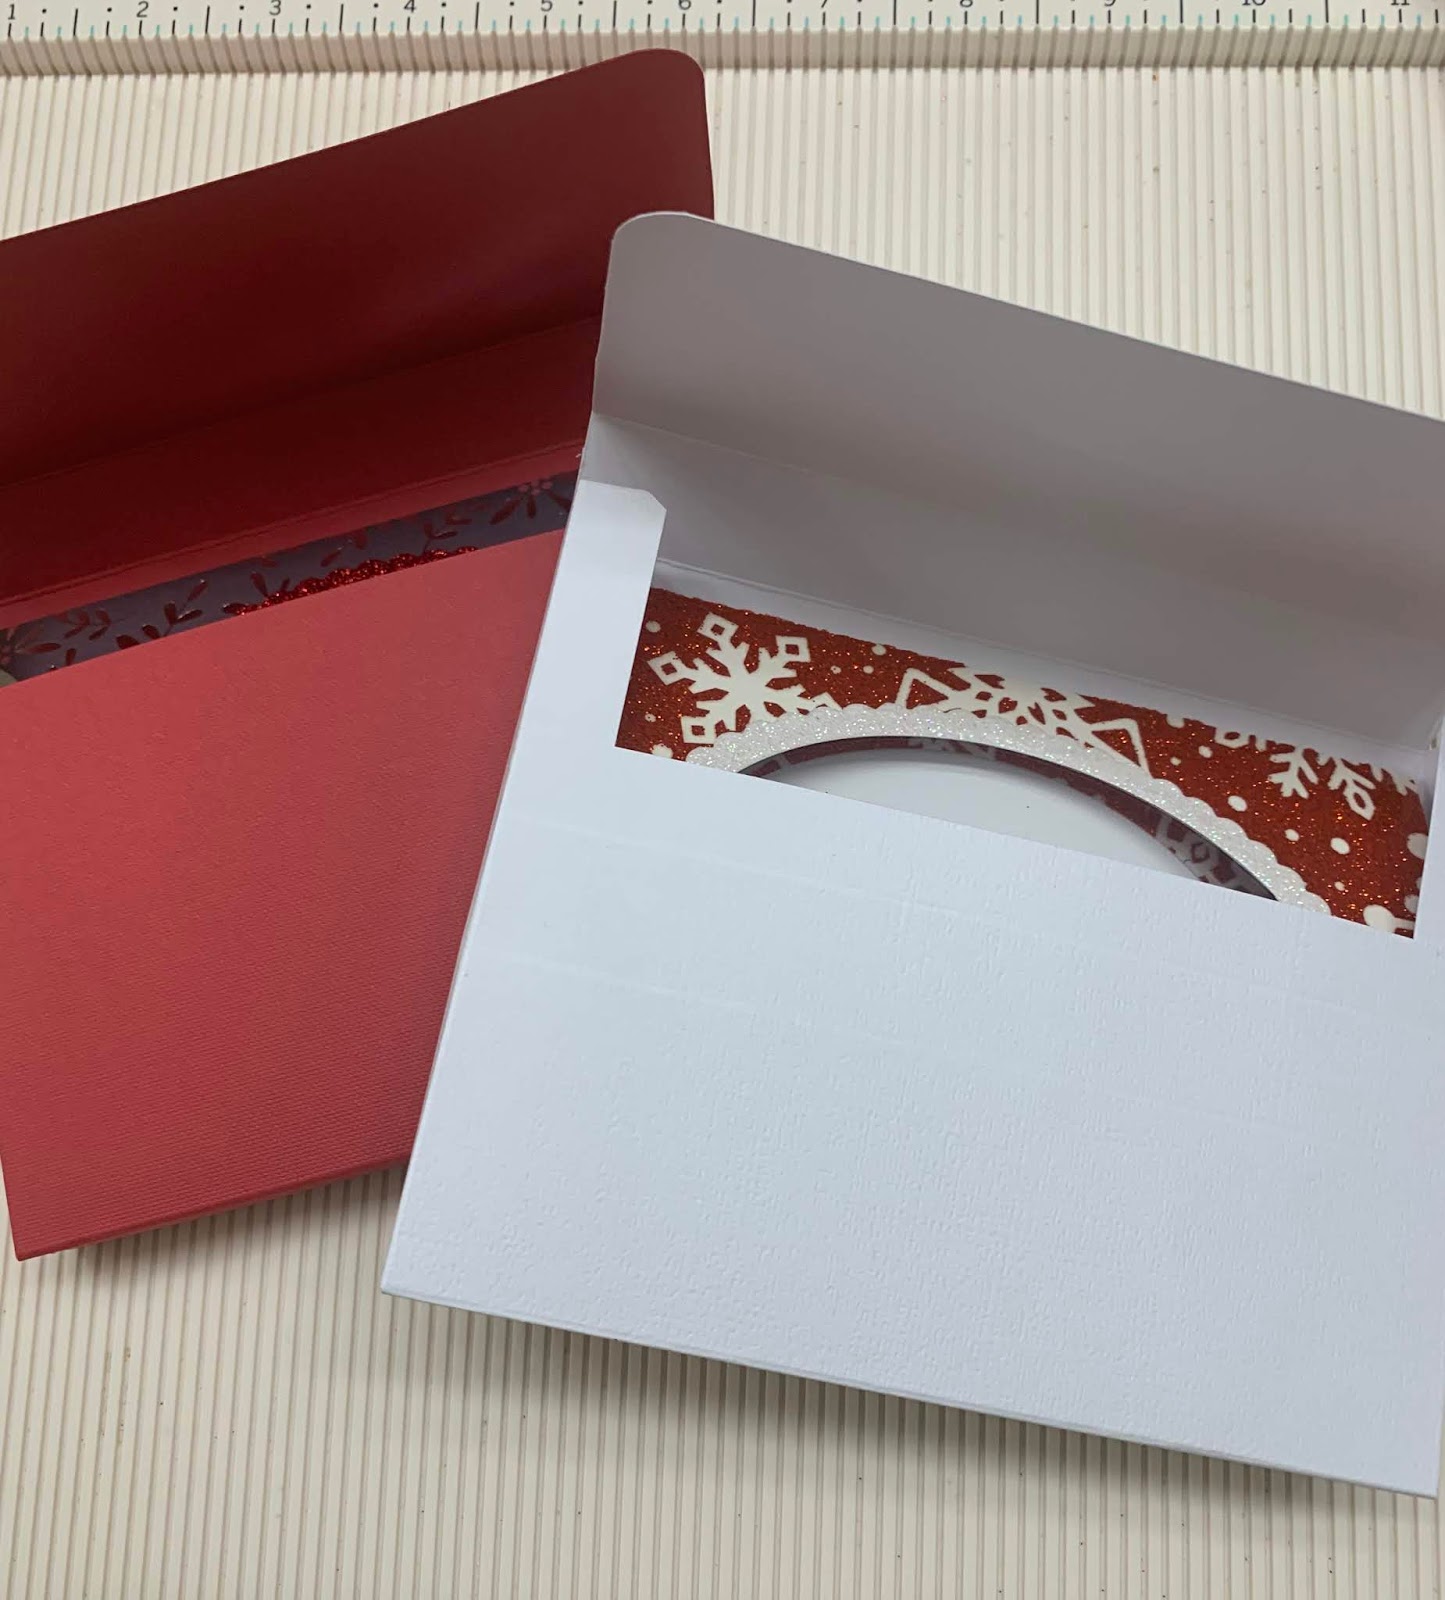
2. A pattern cardstock or a cardstock with the negative of the foil you used for another card (see picture below of negative used from one of the cards I posted on 6/22/19)
4. Oval and scalloped dies ( I used Avery Elle Sweet Scallops dies)
5. A sentiment stamp - I used Penny Black - Christmas Peace and Love 

Card Tutorial
Cut the white cardstoc 5.5" x 8.5" and fold it in half (card base)
Cut 2 pieces of the pattern cardstock or white. One will be 5" x 5.5" (this is your card front), and the other one 4" x 5.5" (insert) . If you are going to use your foil negative (you will need 2), adhere the Double Sided Adhesive Sheet to the cardstock pieces, make sure there are no air bubles, peel the top, and adhere the foil negative to them. 
Score the 5"x 5.5" cardstock on the 5" side at 1/4" and 4 3/4" (tabs) . Fold tabs on scored lines. Place permanent double sided adhesive tape - 1/4in on both.  
Using the oval die, cut a whole in the middle of both the card front and the insert. Make sure they match. 
Using a pencil and the card front, draw a fine line in the shape of the die cut hole on the front of your card base. Stamp the sentiment within that drawn shape. 
*If you want, cut a piece of transparency or acetate and glue it inside the card front. *
Peel the double sided adhesive tape from tabs. Adhere one on one side of card base, and the other one on the other side (both folded to the inside of card front), making the dome. Now insert the piece of cardstock (4" x 5.5") and glue it so that the stamped sentiment will be in the middle of the die cut hole. Your card is ready!
* You can decorate the die cut hole. I used a scalloped die cut and white glitter cardstock to do so.


Envelope Box
Supplies Needed
1. 12" x 12" Cardstock not too thick. I used 65lb. 

Tutorial
Cut cardstock at 8 1/4" 
On the 12" side score at 2.5", 3.25", 7.75", and 8.5"
On the 8.25" score at 1/2", 1.25", 7", and 7.75". 
Cut tabs like show on video below

After you cut the tabs, the envelope box should look like this


Using the corner punch, round corners of the top of 1/4" tabs and the top and bottom tabs (the really large ones). Then adheres the little tabs inside the lateral ones, and the larger tab on the 1/4" ones. Your envelope box is ready for your dome card. 


Thank you so much for checking out my blog. Please don't forget to like and follow Paper Creations, ETC on Facebook, Instagram, Pinterest, and Twitter. 
This post contains affiliate links. When you purchase something through those links, I receive a small commission, so THANK YOU.


Monday, July 15, 2019

Reusable Stencil Tutorial

Hi Everynone, how's everyone enjoying summer here on the northern hemisphere?
Since I posted the foiling tutorials, I have been asked how I made my own stencil using my Cricut machine, so I decided to post a tutorial for that too. I have been celebrating Christmas in July, therefore, the stencil pictured here is one of snowflakes, but you can make a stencil with almost any image of your choice.
Supplies Needed
1. A Cricut Machine
2. Transparency film (clear presentation cover works too)
3.Removable Pixie Spray for Stencils
4. Permanent adhesive spray

TUTORIAL
Using your Design Space on your computer, smart phone, or tablet. Open a new design and upload or use one of the many images DS has that you would like to create a stencil with. I uploaded one with different snowflakes from the web.
Next click on "shapes" and click on the square, 


Click on "arrange" and send the square shape to the back. Click on the lock (bottom left) to open the default size of the square, then size it a little bigger than your image. Select both, and click in "slice". Separate the three images you created. Delete the two main images and keep just the negative. Watch video for these steps here.
Use the setting "transparency" on your machine to cut. If you choose to use the  stencil vinyl from Cricut instead of a transparency film, use the stencil vinyl setting. Use also more pressure to cut instead of the default. 
I cut two stencils because the transparency film is very thin, and I use the permanent adhesive spray o glue them together.


Now all you need is to spray the Removable Pixie Spray for Stencils to keep your stencil in place when using it. Clean it with alcohol to remove any residue from adhesive.
You can create as many stencils as you choose. To use your stencils to foil, check out my post from 6/22.


Thank you for checking out my blog. Please remember that this post has affiliate links and, when you purchase something through them, I may receive a small commission at NO EXTRA COST for you. THANK  YOU for your support. Like and follow Paper Creations, ETC on Facebook, Instagram, Pinterest, and Twitter for deals, giveaways, and short videos. Below is a short video of how I used my stencil with transfer gel and a laminador to foil a card front.


Saturday, July 6, 2019

Foiling Tutorial #3


Hi there, how are you doing?
I was asked if it is possible to foil without a foiling machine, a laminator, or an electronic machine. YES, IT IS! Isn't that exciting?
I foiled the card, which tutorial I'm posting today, WITHOUT any of those. Ready? Check this out.
Supplies Used:
1. Deep red (5.5"x 8.5"folded in half), white, and black (4"x 5.25")  cardstock
2. Candy cane paper cut at 3.75"x 5"and adhered to white cardstock of same size
5. 11/4"x 21/16" gift tag (I used my McGill Scallop Multi Tag Punch)
6. Sentiment Stamp (I used a Sweet N Sassy Stamp from the "Born This Day" set)
1/4"Gold Ribbon
7. Adhesive foam (cut at 3.5"x 4.75")

TUTORIAL
Glue strips of both sizes double sided adhesive tapes on stripes of Candy Cane paper as shown in the card picture. 
The next step you will do one by one of the stripes with the double sided adhesive tapes: Peel the protection layer from tape, place Foil on it, and burnish it on tape. Remove Foil, and the you will have a foiled stripe on the paper. Repeat this for all stripes with  adhesive tape
For the tag, I punched the black cardstock and, just holding the white cardstock (with sentiment already stamped on it) with my tag punch, I drew the tag with a pencil (see picture), but DID NOT PUNCH it. 

Then I fussy cut it with fine point scissors. That way, it was a little smaller than the black tag that I used as a frame. 
Using the 1/8" double sided adhesive tape glue the gold ribbon on candy cane paper to decorate.
Glue the gift tag on paper using double sided adhesive foam, then glue bow.
Adhere black cardstock to red card base 
Adhere 3.5"x 4.75" Adhesive foam on the back of candy cane paper (already glued to white cardstock), then glue it to black cardstock.
Glue  4"x 5.25"white cardstock inside your card. 
That's it! Pretty easy, isn't it? 

I hope you use foiling to make some beautiful things for those special people in your life. 
Thank you so much for checking out my blog. Please follow Paper Creations, ETC on Pinterest, Twiter, Instagram, and Facebook. 


Also remember that the blue words in within this post have affiliate links, which means when you click on them and purchase something, I receive a small commission at NO EXTRA COST for you. So, THANK YOU. 


Tuesday, July 2, 2019

Napkin Background Tutorial


Hi there, how's everybody doing?
Have you ever needed a patterned paper that doesn't exist? I have. This card came from one of those situations. I wanted to make a patriotic card for my sister and her family for 4th of July, but didn't find a paper that I liked. At a store, I saw these napkins for only $1.99, and they were exactly what I wanted. So I decided to create my background cardstock with one of those napkins. Here is the card and tutorial. 


Supplies used:
1. Dark red and white cardstock
2. Patriotic napkin
3. Frosted Lace Stickles Gitter Adhesive
4. Sizzix 6"x6" Double Sided Adhesive Sheet
5. Permanent Adhesive Roller
6. Embellishments

TUTORIAL
Cut red cardstock 5.5"x 8.5". Score it at 4.25" and fold it. (base card)
Cut white cardstock 5.25" x 4", adhere it to card base with Permanent Adhesive
Open napkin and remove white back tissue paper from it (some napkins have 2 plies of white tissue paper added to the napkin itself). 
Remove first layer of the Double Sided Adhesive Sheet and adhere it to white cardstock. Trim excess. 
Turn napkin around (back of the napkin facing you)
Remove the other layer of Double Sided Adhesive Sheet, and carefully place it on napkin. Using a spatula or a credit card carefully smooth the napkin on adhesive sheet, making sure there are no bubbles and the corner are very well glued.
Now you have the background you want, and it's ready to be decorated and glued to your card. I used the Gitter Adhesive to give some shimmer to the stars, a red ribbon and a sticker that I had in my stash.


I hope you decide to try this technique. It's fun, inexpensive, and the possibilities are endless. 


Also remember those who fought for our freedom, and celebrate 4th of July safely. 

Thank you for checking my blog. Please don't forget to leave a comment, and share it to the social media. 

This post contain affiliate links. When you purchase something through those links, I receive a small commission at NO EXTRA CHARGE to you. So, THANK YOU, and God bless you.


Monday, July 1, 2019

Foiled Card - Tutorial #2

Hello everyone,
How are you enjoying your summer? A bit too hot for me, but hey, it's CHRISTMAS IN JULY! Woohoo!. I love Christmas. After all, it is the celebration of the Son of God coming to earth to save us from our sins. What a love! What a tremendous love! So, to celebrate Christmas in July I'm doing a series of Christmas cards using foil. Today I'm posting a tutorial for more deco foil using toner sheets, which I fell in love with since I do not have a laser printer. Here is the card,


Supplies I used
1. 5.5"x 4.25" cards in white, beige, and red
2. white cardstock
3. Self adhesive toner sheets
4. Therm O Web - Fancy Foils - 6 x 8 - Radiant Red + Gold Deco foil
5. Elizabeth Crafts Christmas ornament dies - base and cover
8. Merry Christmas die
9. Embellishments
10. Laminator

TUTORIAL 

Turn on your Laminator and let it warm up. Using the ornament die base, cut that shape from the  Self adhesive toner sheet. **Place the die-cut inside folded parchment paper, cover with a piece of the  Therm O Web - Fancy Foils - 6 x 8 - Red Velvet (a little larger than the die-cut), and run folded parchment paper in the laminator.** You will get that beautiful, shimmery, red ball. Then, cut the  ornament die cover from the Self adhesive toner sheet too. Use the same process **-** to foil it with the gold foil. The process to cover the die-cut sentiment, in this case "Merry Christmas" is the same. Using the Darice Snowflake Scroll Design embossing folder, emboss the white card. Check the card picture for details. Finish your card as it is in the picture, or use your creativity and change 
things up a little. 


Thank you for visiting my blog. Follow Paper Creations, ETC on facebook, Instagram, and Pinterest. 
Please remember that this post and the photos within it may contain affiliate links. If you purchase something through the link, I may receive a small commission at NO EXTRA CHARGE for you.

Wednesday, June 26, 2019

New Christmas Card Tutorial

When it's 95 degrees outside, it feels like 102, and you miss the cool weather, you listen to Christmas songs, and make Christmas cards. (wink). That's what I have been doing. The card I made today has a few different techniques I want to share with you. 


I hope you can see the shimmer in the star and the glitter cardstock, and how the falling snow is in 3D

SUPPLIES I used for this card:
4. Dark blue, and white glitter cardstock
5. Black, dark green, and Versamark stamp ink 
8. Snow falling stencil

TUTORIAL
Cut a piece of dark blue cardstock the size of the card you would like to make. Secure it on your work surface with light tack tape (Washi tape, painters paint, etc).
Place the stencil on it also secured with light tack tape.
Spread the Nuvo Expanding Mousse with palette knife on stencil until all openings are covered by it. Clean excess with palette knife or a spatula.
Gently remove the stencil
Using heat tool, heat the mousse until puffed up and dry.
Die cut glitter white paper with Lawn Fawn - Lawn Cuts - Dies - Stitched Hillside Borders , and cut the sides to card measurement.

Stamp trees on a white paper and die cut them.
Stamp star with Versamark, cover with Nuvo - Embossing Powder - Classic Silver, and heat emboss it with heat tool.
Glue Blue cardstock and die cut "snow hills" to card base.
Adhere 2 trees to scene, and use Adhesive foam to glue the 3rd one.
Stamp the sentiment phrase, and your card is ready to be given to someone special.

THANK YOU so much for checking out my blog. Please remember to like and follow Paper Creations, ETC on Facebook, Instagram, and Tweeter.

Please remember that this post contains links. When you purchase something through those links, I may receive a small commission at NO EXTRA charge to you. So, THANK YOU.

Tuesday, June 25, 2019

Expanding Mousse Card Tutorial


Hi there,
Are you enjoying summer yet? As a cold weather lover, I'm staying indoors as much as possible, and while enjoying the AC, I'm creating Christmas cards. For this one I used  Nuvo Expanding Mousse. I love that mousse because, when I use heat, it expands and changes to a different, puffed up, texture.

Here are the supplies I used for this card:
1. Green, black, white and natural Cardstock
2. Ribbon/twine
3. A stencil (I used Tim Holtz Christmas Festive)
4. A Palette Knife
5. The Nuvo Expanding Mousse  in the color of your preference
6. Heat tool
7. Christmas sentiment stamp
8. Avery Elle tag die from the set Elle-ments Die - Gift Tags

TUTORIAL
Using a gentle tape (Washi tape, painters tape, etc), secure white cardstock to your work surface. Place stencil on it (I like to secure my stencil in place with tape too).
Using the palette knife, spread expanding mousse on the stencil making sure it covers all the openings well. Clean the excess with the palette knife and put it back in the container.
Very gently remove the stencil from the paper.
Heat mousse with heat tool (like you would on embossing powder) and watch it puff up and get a more natural look and change texture.
Now you have a great card front to embellish your card.

I hope this tutorial will help you to create something amazing today.

Please remember that this post contains affiliate links (blue words) and, when you purchase something through those links, I receive a small commission at NO EXTRA CHARGE to you. And some of them have FREE gifts too.

Thank you for checking out my blog. God bless you,